Planking – what NOT to-do
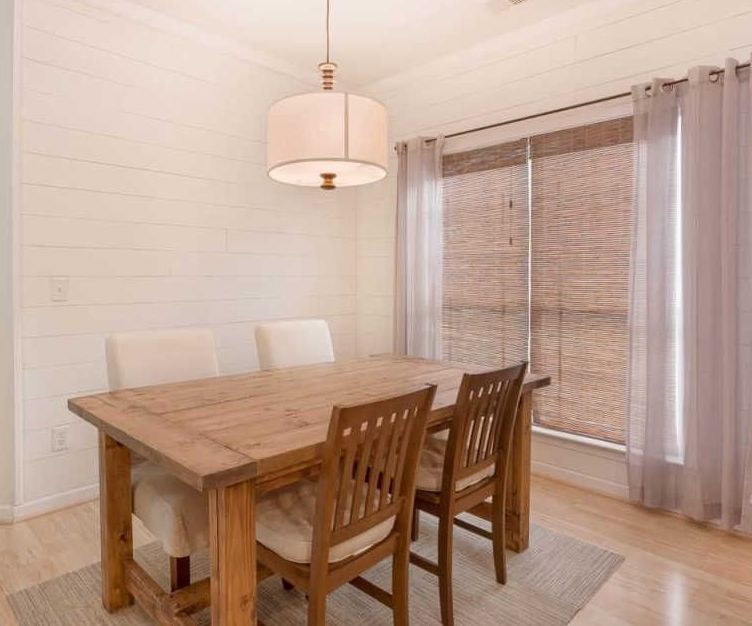
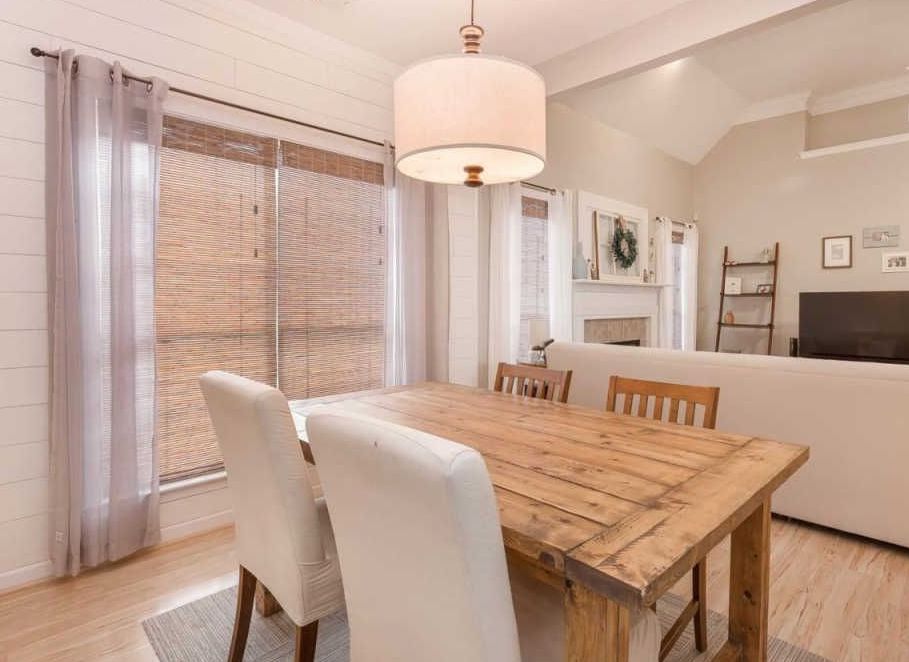
It is no secret that I am an avid admirer of just how clean planking looks and how it has the power to transform a small misshapen nook of a dining room into a light and open space. Four years ago, we decided to embark upon our first DIY-Planking escapade and two years later, with a lot of breaks in between, we were finally able to enjoy our success. Was it perfect? Far from it but from the picture below, it’s hard to see the imperfections as they just added to the charm.
Despite the unexpected issues we came across, after thinking ourselves newfound experts thanks to endless blog tutorials and YouTube tutorials, I am happy to report that our love of planking entire rooms or mere accent features has not dulled in the slightest.
However, that being said…I did want to offer a bit of advice to anyone about to plunge into a wood plank/Shiplap project before you get started so you don’t make the same rookie mistakes we did on our first try.
A few in-progress photos…just a lil’ tasting!
Tips & Tricks of the Trade we SWEAR by:
- Paint the walls you are intending to cover FIRST. If you don’t, removing planks and starting over is a major pain in the neck…not to mention that whatever current wall color is present will bleed through the gaps in the planks which will throw off the overall look. (We opted for a Flat Enamel finish on the walls in a Paint/Primer combo and then used a Satin finish for the planks themselves.)
- When you do have all of your planks fastened securely to the walls, make certain to paint the planks horizontally. Apply only a thin coating over a foam roller to lessen the likelihood of any paint smudging in the gaps between each plank. (We used a 6″ foam roller for a smoother finish and due to the fact we elected for 6″ wide planks. Made it go by in a breeze! …once we got going that is. ^^)
- If you are going to have your 8×4′ sheet cut down into individual planks at your local home improvement store, just be aware that they never guarantee precision cuts. There is always the likelihood that they may not remeasure before each new cut. Always just ask nicely / remind them to do so, otherwise by your last plank, you may find it 4 1/4″ vs 6″ wide.
- Once cut, because the material is lightweight compressed plyboard, the edges will very likely have a good deal of splintering. Very carefully hand sand those edges before applying the planks to the walls or painting, it will save you a headache later on. Always move in one direction, following the wood grain, and in gentle motions so as not to splinter the edges further. If they aren’t perfectly even or straight after sanding, DON’T WORRY, once all is said and done I promise you, it only adds to the charm and yields more character.
- The best advice for any home project, to be honest, #thewallisneverperfectlystraight. Ever. Seriously. Our former home that we did this dining nook in was a new construction home and each wall was off by at least 1/8″ and certain areas nearing the ceiling bowed out slightly. Measure, measure, and re-measure!
- Remember to account for any electrical outlets and fixtures that you will need to cut out in advance before applying your planks to the walls.
- Last but most importantly, once you finish painting a plank go back above and beneath the plank, in that little nickel wide spacing you’ve left, with a clean toothpick to smooth out any potential paint that’s gummed up inside the gap. If you don’t, you will lose the integrity of the “planked look” and it will appear far less pronounced.
But in the end, it’s always entirely worth all the sweat work. I’ve included a couple photos after we’d finished planking, painting, and applying caulking. What do you think? Not too bad for a couple of rookies, right?
Cheers!
~Christy