Roll Up Your Sleeves: Reclaiming the Yard Pt. 2
We started with this: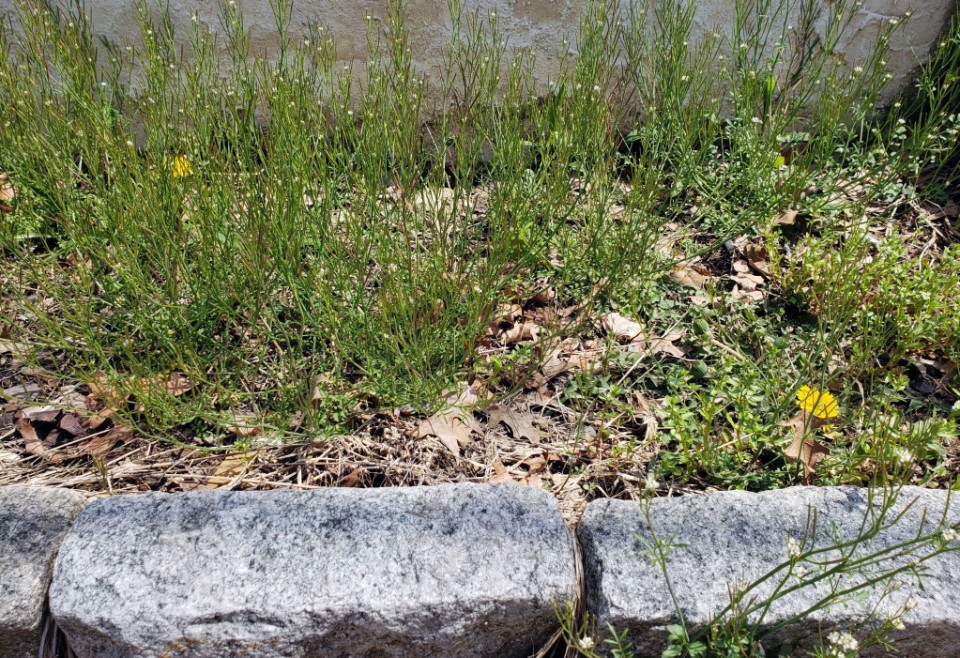
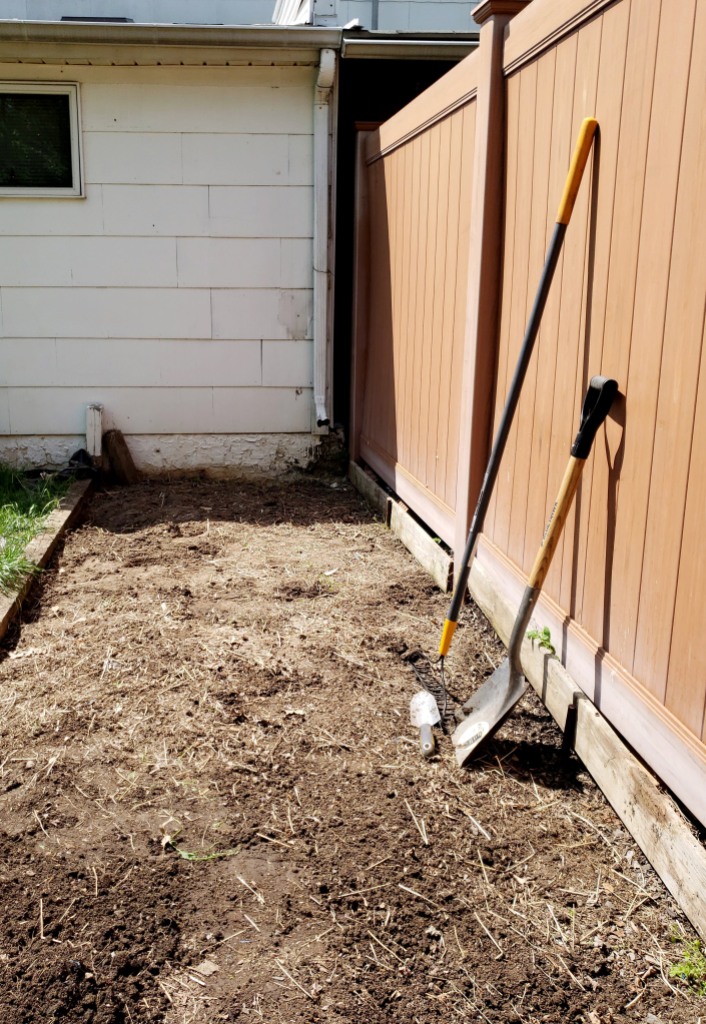
and this
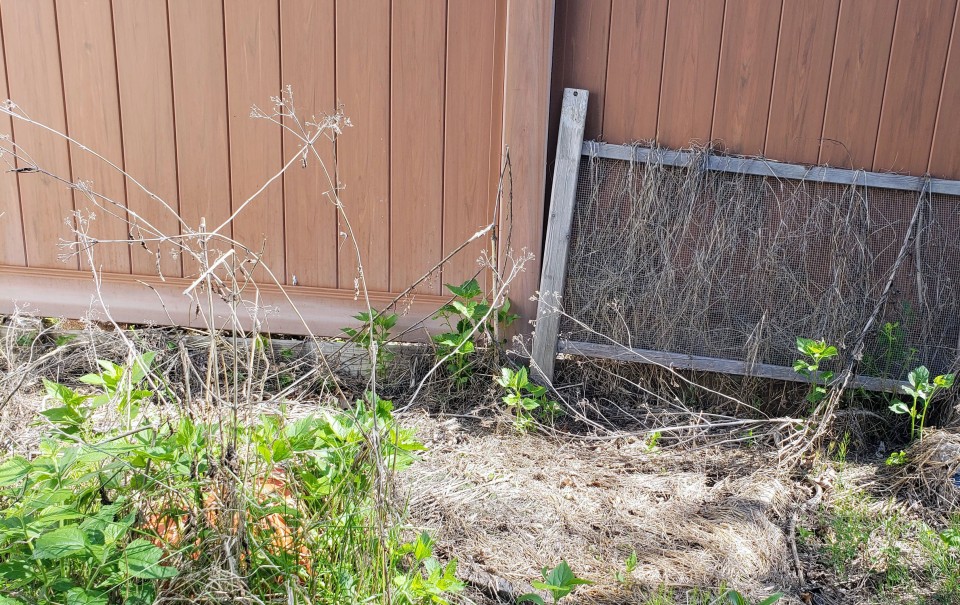
with the latter looking like it belongs at a haunted mansion perhaps?
Last spring and summer we left the garden beds to their own devices. I simply did not have the mental energies to devote to the work. The interior demanded enough of our attention and energy and the thought of having all the work outside as well was exhausting. But this is going to be our year I can feel it in my gut. I donned my work clothes, rolled up my sleeves and away we went!
Weeding is my least favorite chore, and I’m positive most of you would say the same. Clearing the front beds was a relatively painless job, minus having to kneel on the concrete while I weeded. It took me several hours over the course of a couple days to get it weed free. I hauled away buckets of dirt, and then added in a few bags of good topsoil and then we were ready to plant. To keep it low maintenance and still pretty, I chose Hostas for the front. They’re hearty plants, fairly easy to care for, and I won’t have to worry about whether they blossom or not.

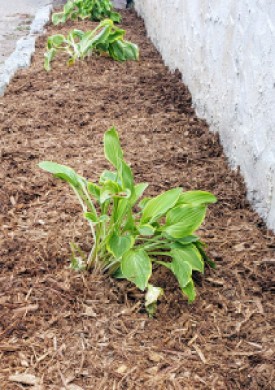
The final touch for the front: a wood chip mulch. Mulch is great for conserving moisture in the soil and helps discourage weed growth. Added bonus: it adds a visual appeal to your garden beds.
With a limited budget and a desire to get this finished as quickly as possible, we decided to opt for bagged mulch vs having a garden center deliver it in bulk. I was hesitant to go with a pre-bagged mulch since you’re never 100% sure of what you will get until you open it. There’s a slight risk of getting bad or moldy mulch, or discoloration in the case of colored brands. We ended up choosing a non-dyed cedar mulch by Timberline and I am very pleased with the results!
The backyard, however, was an entirely different beast. I spent forty-something minutes digging up what I have now dubbed the ‘mystery root from hell’. It came up in pieces. (The other weeds were no picnic either.)
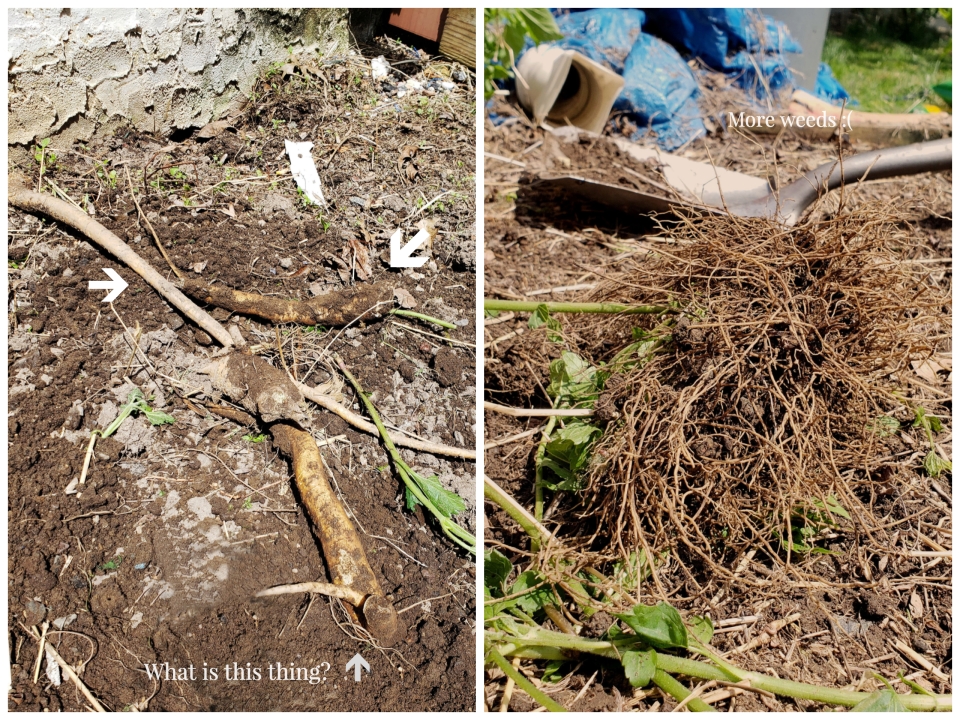
It required a spade (my hand trowel was not sufficient, and whatever that long pointy tool is? I believe it’s called a dandelion weeder. Kind of looks like a screwdriver with a notch in the end. I should have taken a before image so I could later identify the plant in case I ran into it again, but I was so caught up in wrestling it out of the ground I forgot.
Several hours over the course of a couple days and the ground was finally weed free and ready to plant.
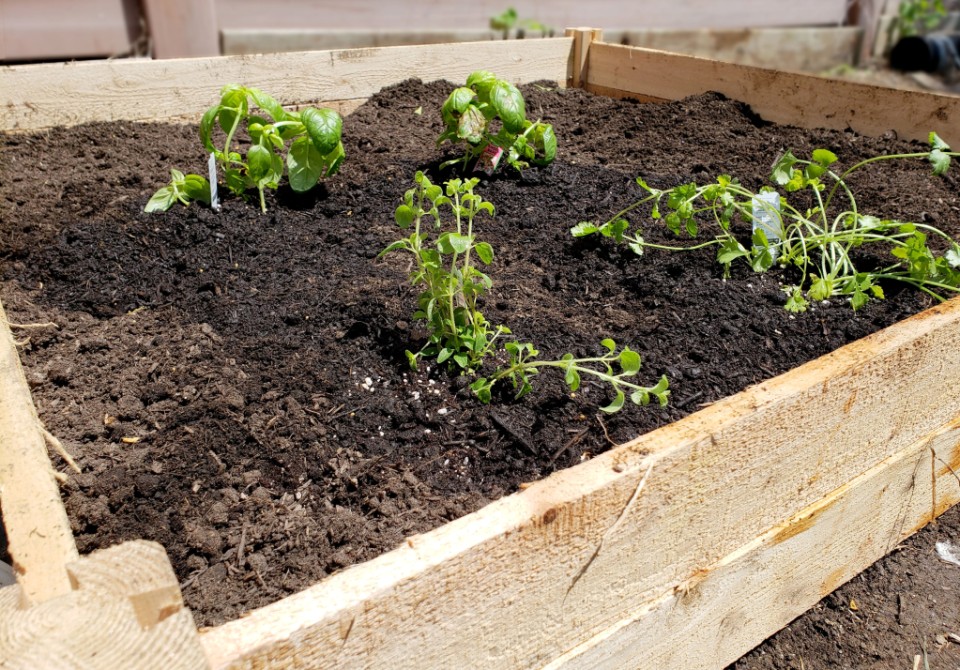
We purchased a garden box kit from Home Depot to save us the hassle of building one from scratch. Since the soil around here is crap (read lots of clay), we purchased a few bags of garden soil so we could ‘start fresh’: a raised bed filled with only good topsoil. The rest we covered in black plastic to discourage weed growth in the hopes we will have a little less to deal with. Now our little herb garden is ready to go, minus the addition of a couple more plants.
Our next project will be reworking the fence I built 2 years ago to keep out the fat critters that took up residence underneath our shed. But that’s a post for another time. Until then, cheers!!
