Painting Wood Paneling
When we bought our house 5 years ago, I was 100% certain the last time it had a makeover was sometime in the ’70s. It’s horrible really. There is dark, wood-veneer paneling all over the second and third floor and really it pains me to look at it. I don’t know about you but I am not into the whole ‘retro but not in a good way’ vibe. After discussion and a bit of research, we decided that painting would be the best and most cost-effective way to update the rooms without having to remove the paneling and then drywall after.
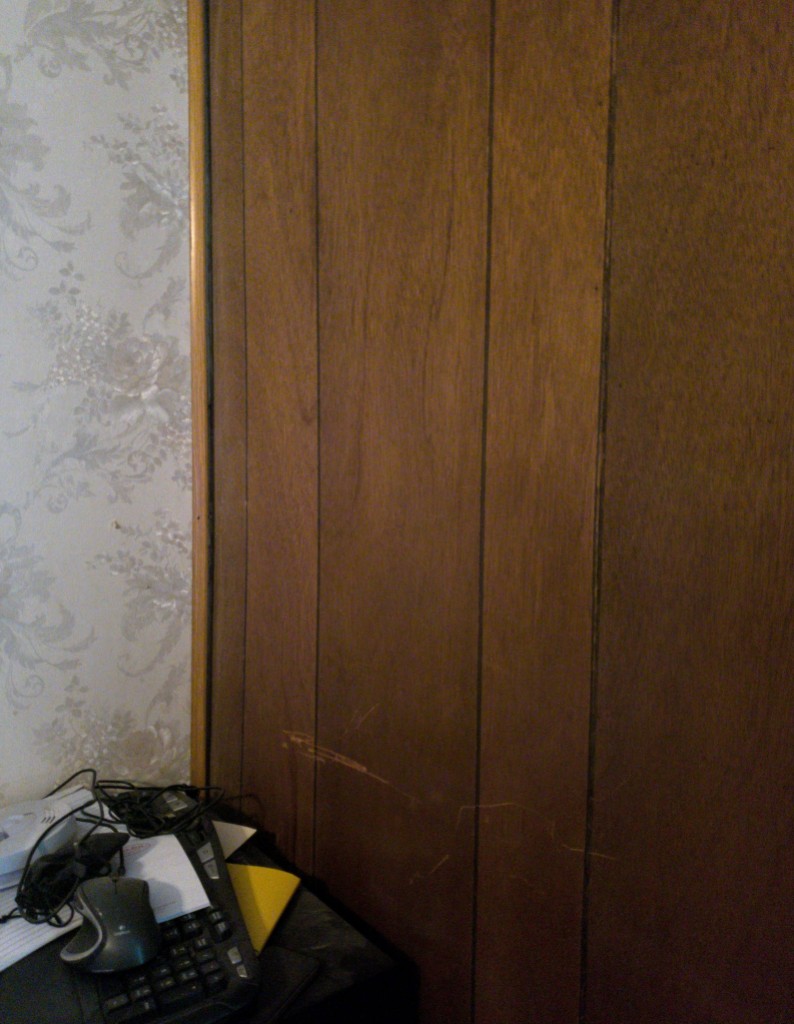
The bedroom was the easiest starting point as there wasn’t much in the way of paneling. Here’s the process we swear by.
- Clean the paneling. Paint won’t adhere as well to a dirty surface and you don’t want the paint picking up clumps of dirt as you go. Warm soapy water and a rag should be sufficient unless there’s a lot of grime in which case you’ll need a heavier duty cleaner.
- Once it’s cleaned and dry you’ll want to lightly sand with a medium to fine-grit sandpaper. (I used a 180 grit sheet since that’s what we had on hand.) You just want to scuff the surface a bit so the paint will adhere better. This step is optional since most paneling won’t need to be sanded unless it has a high mirror-like finish. Personally, I think it’s worth the extra time as it’s added insurance against chipping, so I always sand before I paint.
- Fill any cracks, scratches, or nail holes with wood putty or joint compound using either your finger or a small putty knife, and then lightly sand once it’s dry.
- Prime the paneling with a stain-blocking primer. (Darker paneling will require two coats.) We went with Kilz2 and it gave good coverage, but regardless of what brand you use, make sure it says stain blocking.) Take a brush and go along the grooves first to make sure the paint gets in them, as well as the edges and corners. If you’ve got a lot of areas left to cover, you’ll want to switch to a roller for the rest. A foam roller will ensure that you get a smooth finish. Since the paneling in our bedroom was fairly minimal, I opted for a more rustic look and hand brushed the entire thing.
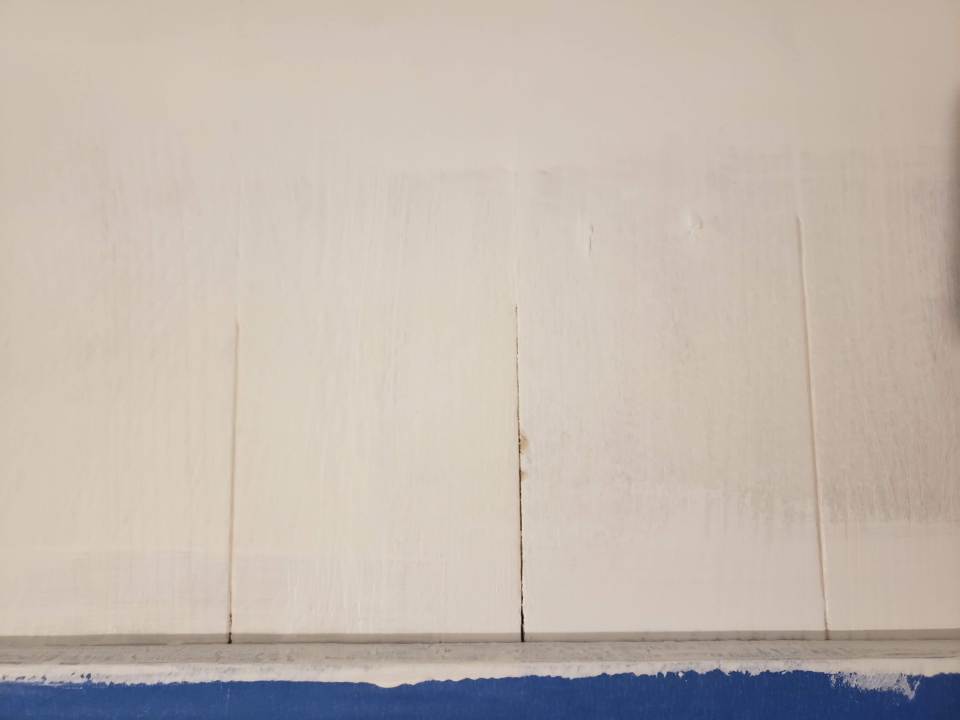
After two coats of primer, we’re starting the first coat of paint. 
Since the paneling in our bedroom was fairly minimal, I opted for a more rustic look and hand brushed the entire thing. - Paint. Following the same routine that you used to prime, paint the paneling. (Again, with a darker paneling you’ll want two good coats of paint.) The sheen of the paint is up to you but I’d pick something with a bit of a gloss. I went with a satin finish for durability and ease of cleaning. Let me say here that the paint you use matters. It is worth the extra cost to invest in a good quality paint that will offer you more coverage. When we started our remodel, I bought a mid-grade paint because I didn’t think it would make a difference. I ended up having to put three coats on the hallway walls and it ended up being a colossal pain in the rear. After much frustration, we picked up a can of Behr Marquee from Home Depot on a friend’s recommendation. I am never buying any other paint brand ever again. The Marquee is not cheap, and my spouse freaked out a bit at the cost, but once we get down to the actual painting, he got all excited about how nice and evenly it coated the walls.
Goodbye ugly paneling and hello pretty walls!