Board and Batten
When we first moved into our home we found that the dining room’s previous “look” offered little in the way of charm. Initially, I armed myself with a roller and set to painting over the saturated yellow with my favorite neutral, Grey Owl by Benjamin Moore.
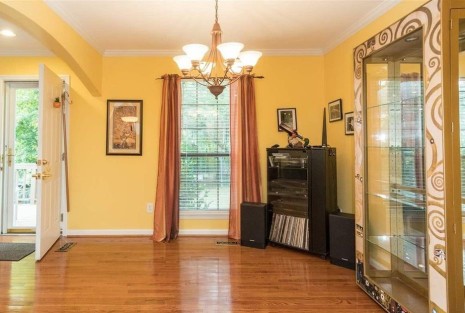
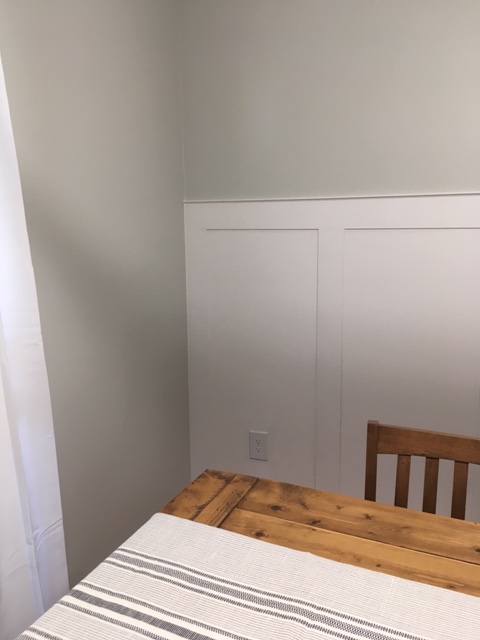
It’s amazing what a fresh coat of paint can do and we were left with how we wanted to inject our personality into the space. In our dining room, we found that we had one actual wall, a shared wall to the living room, and two partial walls where the walls had been opened with wide-set archways. Going for a feature wall seemed the best use of our space and would be all the more vibrant as it would be visible from the living room too.
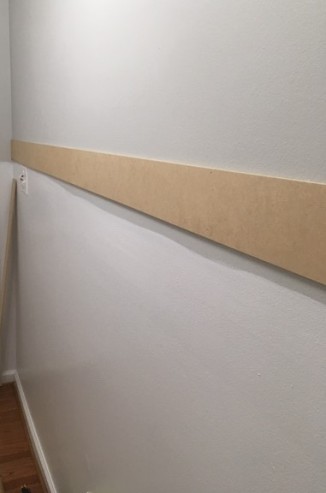
Phase 1: Install the battens
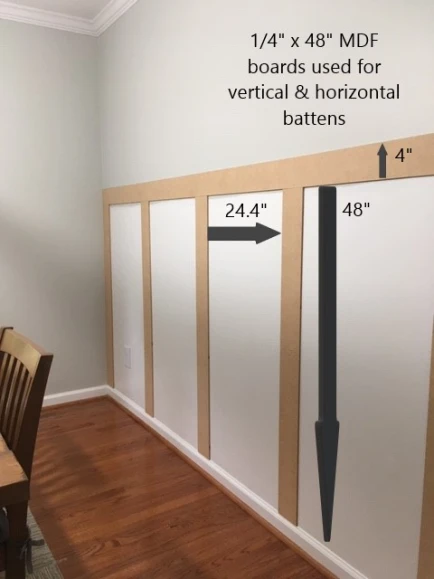
We recommend installing the horizontal boards across the wall first to ensure that they are level / straight. We’d decided to use 48″ tall battens (vertical boards) and our existing baseboard molding, so we balanced the batten against our baseboard and measured up 48″ to mark where our horizontal board would begin. With our lightweight MDF panels we found finishing nails sufficient to hold our battens in place but if using anything else I would recommend adding liquid nails to the backs before adhering them to the wall.
(Notes: When placing your horizontal board, make sure to place it above the line you’ve marked for 48″ on your verticals. If you don’t, you’ll be short-changing yourself precious inches depending on your board width. It’s also important to keep in mind that not all walls are created equal and if you fasten in your vertical boards first, you may find an uneven horizontal board from 1/18″ to 1/4″ off.)
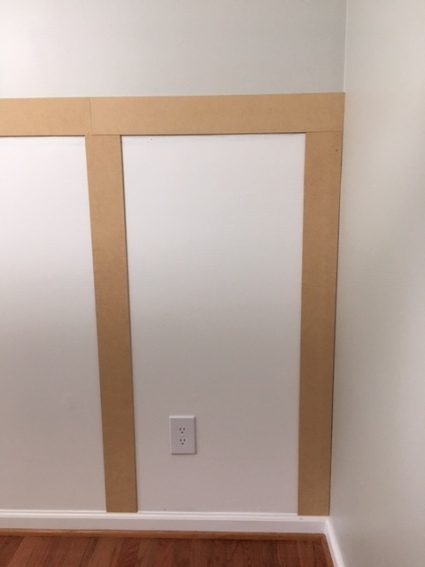
Next we attached our vertical battens by butting them up against the horizontal board. We did this in case any of our cuts were slightly off or in case the wall was uneven in any areas. It’s much easier to add some extra filler caulking just above the baseboard without affecting the overall look of the finished product. Each vertical batten was fastened in place with finishing nails.
Now for the most challenging part of any type of molding install – the spacing. Remodelaholic has a very helpful guide that I recommend everyone should check out.
However, for our feature wall we went with this basic formula:
- Measure your total wall length
- Divide that by your estimated desired spacing between the battens
- Your number will be how many spaces will be on the wall
- Add 1 to that number to get the number of battens needed for the wall
- Multiply your chosen batten width by the number of battens
- Subtract that number from your total wall length
- Divide that number by the number of spaces you calculated to obtain the exact spacing between each batten.
For example (I used our wall’s measurements here):
- 126″ (wall length) / 24″ (desired spacing) = 5.25 or 5 spaces
- 5 spaces + 1 batten = 6 total battens
- 4″ (width of each batten) x 6 battens = 24″ (total batten width)
- 126″ (wall length) – 24″ (total batten width) = 102″ (wall length minus battens)
- 102″ (wall length minus battens) / 5 spaces = 20.4″ (the spacing between each batten)
(Note: You may see slight variation between spacing once you get started. For the most part all of ours ended up exactly 20.4″ apart, though we had one that was 19.8″. Though you will go for precision cuts on vertical battens, we realized we’d likely lost a little length due to splintering we’d sanded down on one batten.)
Phase 2: Add the moulding along the top
By far the easiest step and what a difference it adds! You can elect for a variety of molding to serve as a finishing step to the top of your horizontal boards but we elected for simplicity with a strip of cove molding going across the top.
We held ours flush with what we knew to be our level horizontal boards and fastened with finishing nails.
Phase 3: Spackle and caulking
Once everything is securely in place, you’ll want to start by caulking along any place where your battens/boards meet the wall to eliminate any gaps and provide a seamless look. Once dried, go back over and fill each nail hole and any lingering gaps from caulking with putty. You will then lightly sand away any excess as needed.
Phase 4: Homestretch – painting your battens
Using a damp cloth, wipe down all of your battens and then vacuum to gather up any lingering dust. Next, you’ll want to apply 2-3 coats to each batten allowing for at least 20 minutes in between to dry. While you can use a foam roller for quicker application, I opted to hand brush for a more rustic finish. In lieu of applying a coat of primer first, I used a quality paint + primer combination instead in a satin finish (Behr Marquee). Our wall color is Grey Owl by Benjamin Moore and the board and batten is in Decorator’s White by Benjamin Moore.
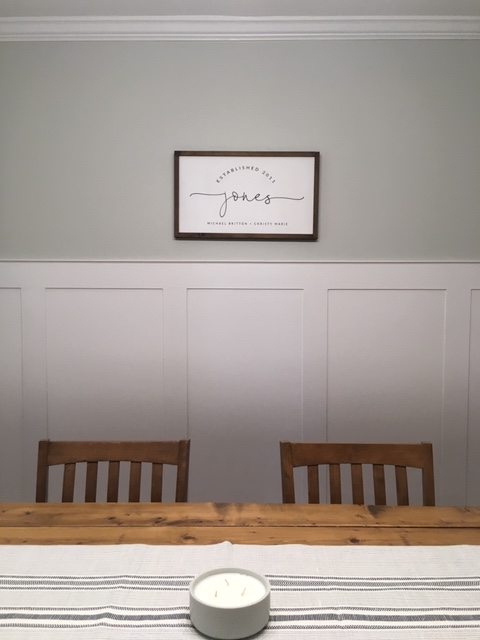
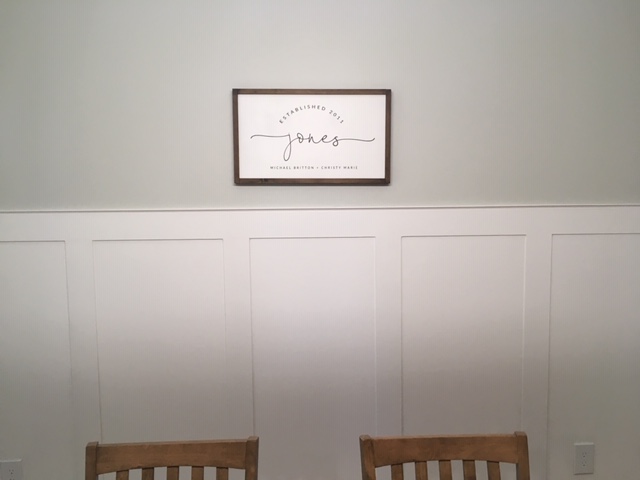
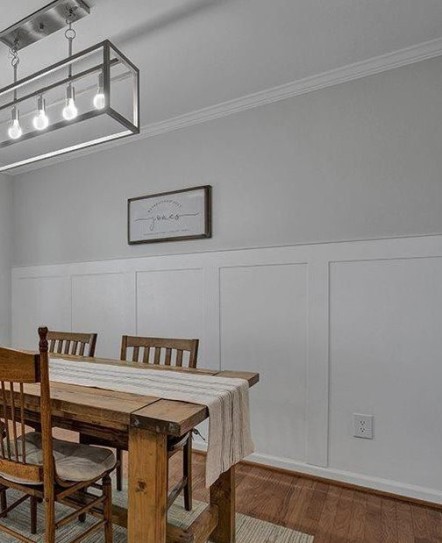
What do you think? We found that my anniversary gift to the Mr was a perfect fit to that open wall space just above our board and batten feature wall. The space feels so much more open, fresh, and has so much more personality. Budget meets DIY at its finest…we’re in love!
Cheers!
~Christy
One Comment
Pingback: