The Room Where it Happened
Gather around boys and girls, for I have a story to tell you. Be ye warned though, it is not for the faint of heart.
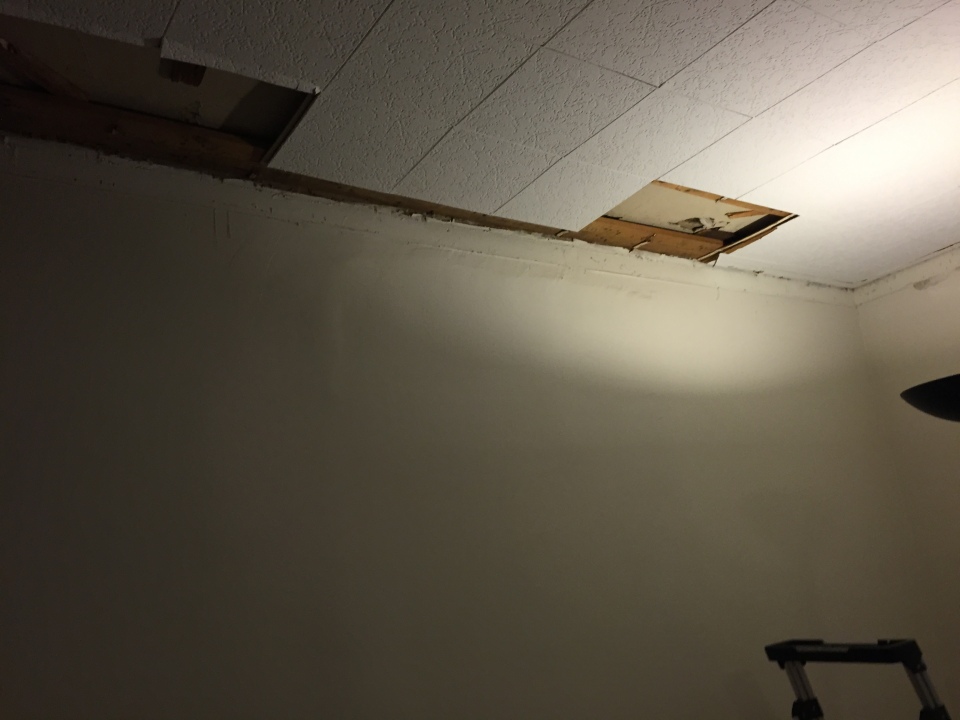
This is the place where it all began. Our descent into the insanity that has been our home project. This is our money pit: the gigantic monster of a remodel that has slowly eaten through both our budget and our sanity. We threw caution to the wind and jumped in headfirst, and, much to our chagrin, ended up stuck in this seemingly endless nightmare.
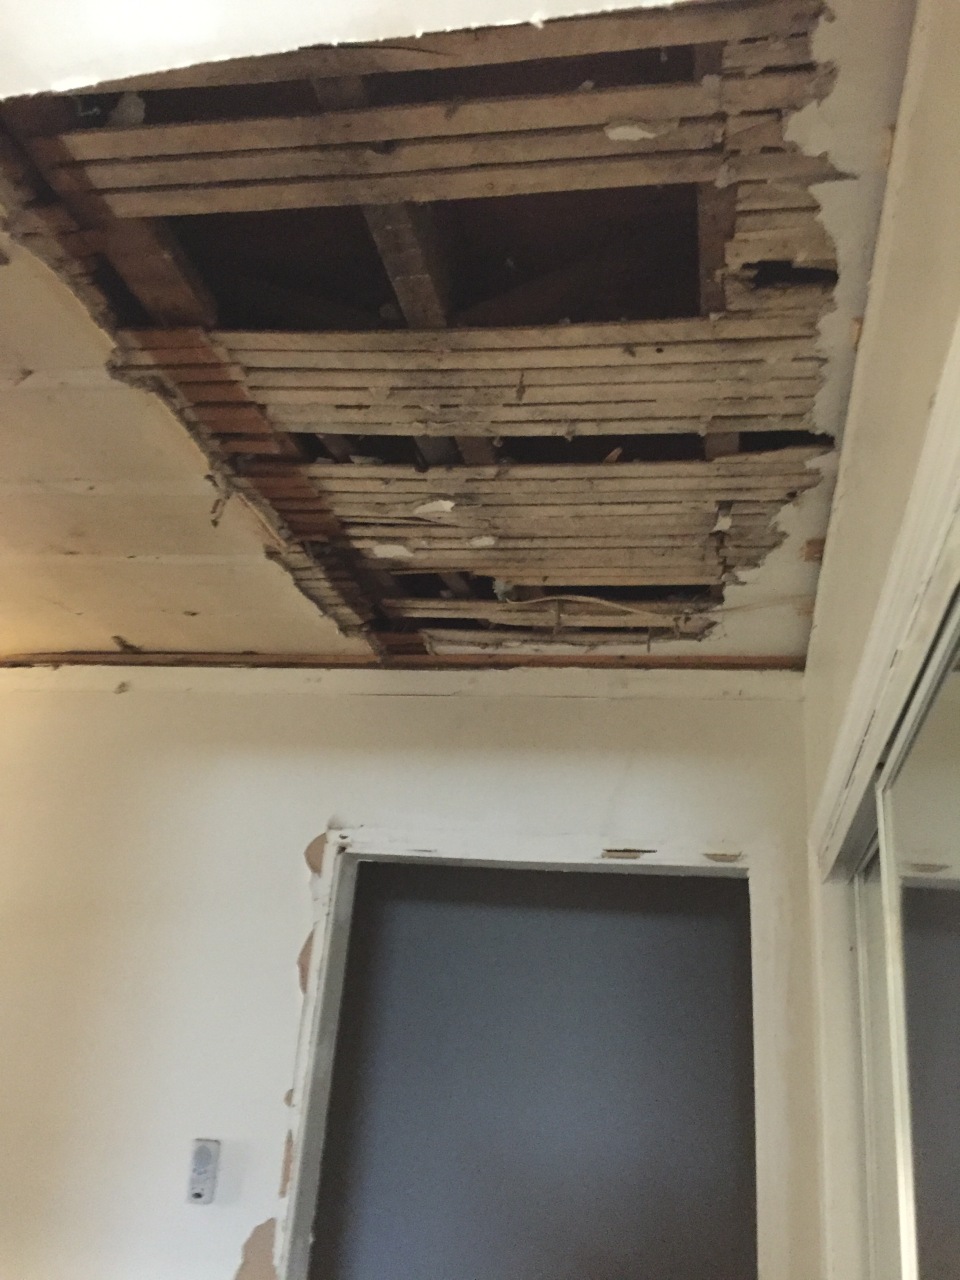
It all sounded so simple. We’d take down the ugly ceiling tiles (seriously who tiles their ceilings???), hang drywall, tape, spackle and be done with it. And then we found this mess. We knew it was an old house, but finding that most of the construction being pre-drywall was a bit unexpected since the previous owner’s son had done a good deal of remodeling. Hard to believe drywall has only been around since the late 1950’s. This stuff is called lath and plaster: wood slats attached to the studs then covered in plaster to create a smooth surface. (Lucky you getting a history AND a construction lesson!) Both the ceiling and walls were constructed this way and let me tell you, it’s a giant pain in the rear to demolish.
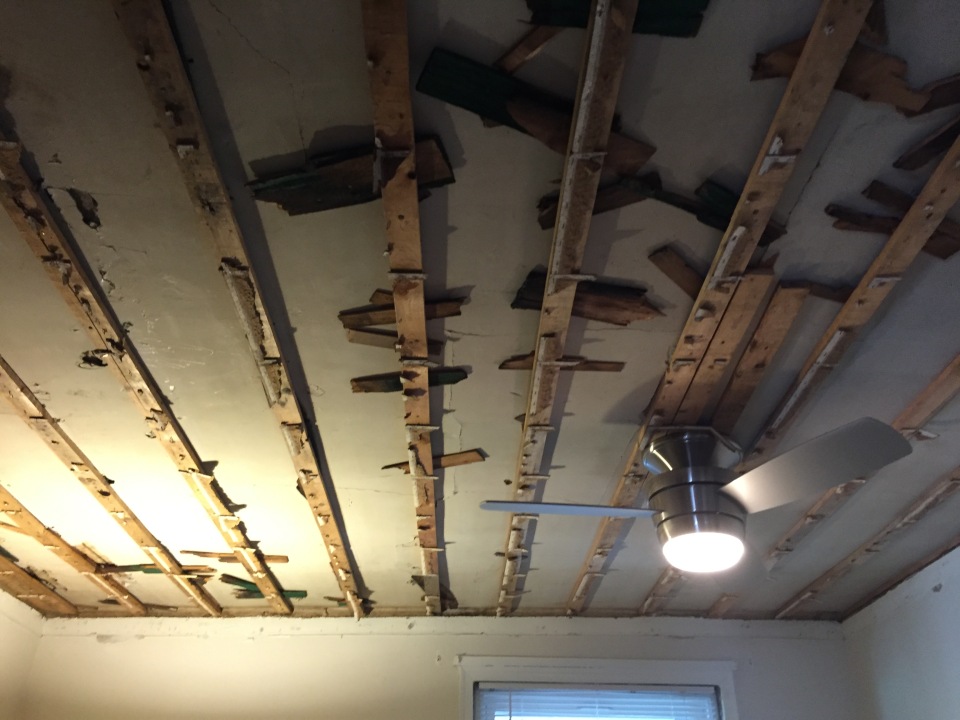
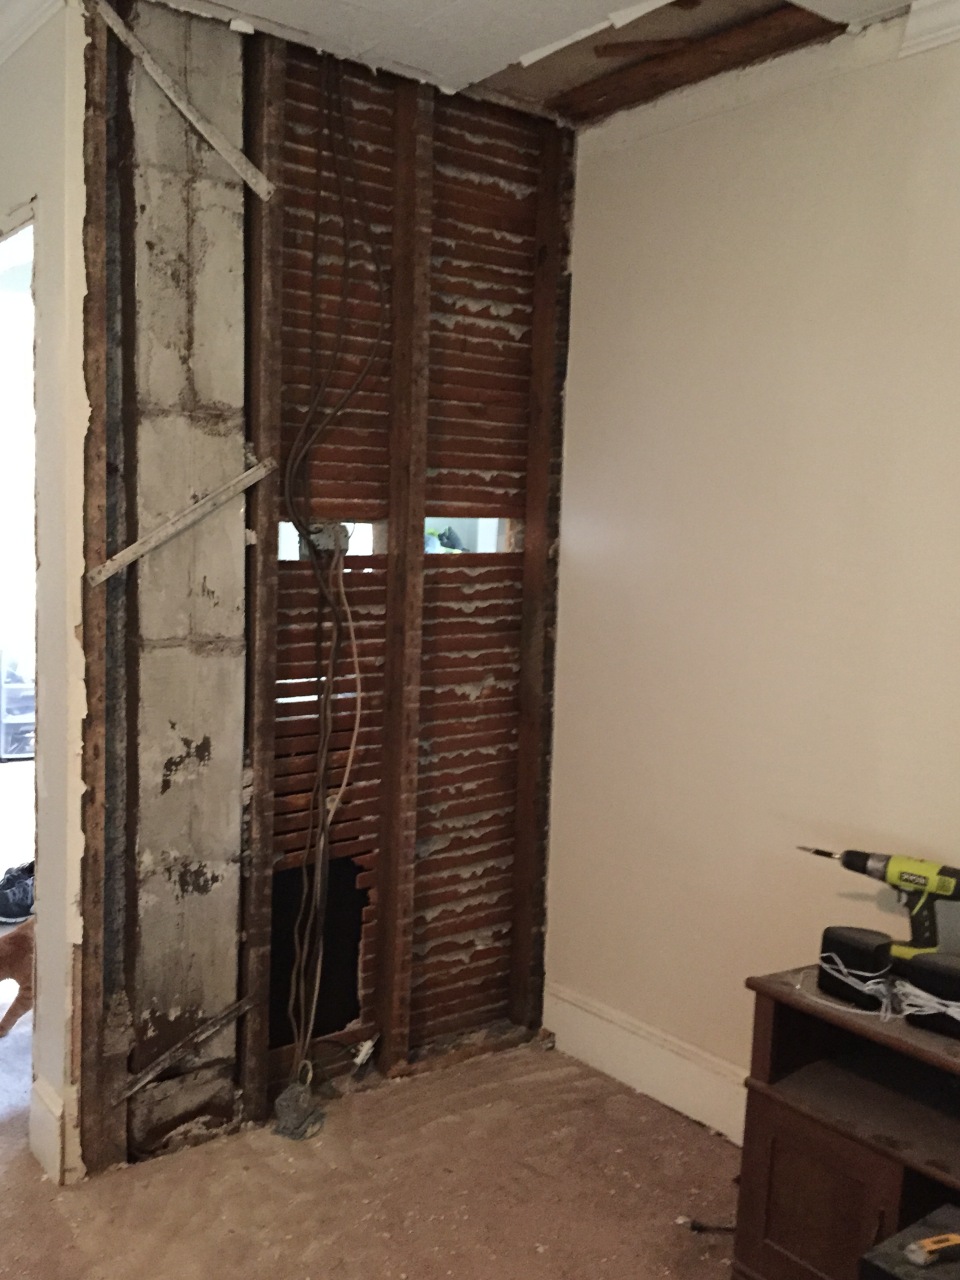
One of us – I can’t remember which at this point in time, although it was probably me – had the bright idea to get ambitious. The plan was to take down the ceiling and the half -wall to the studs and start fresh. Then we could potentially leave the ceiling exposed for a cool vintage look and drywall and put in new switches and outlets as necessary on the wall. (It’s technically not a half-wall but oh well). Lastly, we’d pull up the carpeting and lay new flooring down and voilà, a beautiful shiny new family/rec room minimal effort and within budget.
Yeah right.
We found somewhere mid-hanging new beams as ceiling studs (since the existing ceiling beams were pretty damaged and not the most ideal for drywall hanging) that the studs were not all…even I guess you’d say…all the way across. Of course right? Time to buckle up kids, it’s about to get real. Well, we finished the beams and then added shims and wedges where we could during the drywall hanging to get the sheets as even as possible. It’s not perfect but where it’s uneven we can use sheetrock mud and patch if necessary to even it out.


It has taken much longer than it should as we did most of the work ourselves and admittedly, pushing through when motivation and inspiration are long gone, has never been my strong suit. So we’ve stopped and started, and stopped and started again and again but it’s mostly finished now. I have to laugh if only to keep from crying. Obviously, it could have been much worse but what we have experienced has been painful enough. Now all that is left is the ceiling spackle, skim the walls and get the floors finished. That, however, is a story for another day.
One Comment
Pingback: