Skimming the Walls and Other Lessons in Drywall Mudding
Ah, wall skimming. Sometimes, it’s not enough to spackle the dents and holes in your walls. Sometimes, there are just too many to deal little marks and dents to deal with and trying to cover each one individually is just plain tedious.
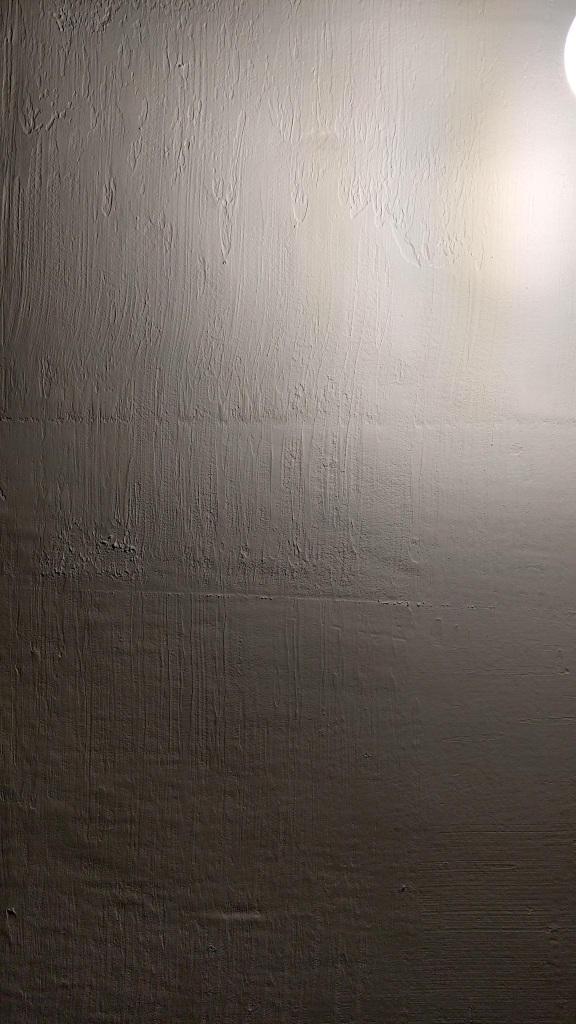
I present for your viewing pleasure, Exhibit A (left side) the wall in our soon to be the rec room. This little beauty comes pretty much as is – minus a few attempts to spackle over the dents in the wall we have done nothing to it. Exhibit B (right side) is a wall in our hallway we have spackled again and again and then finally painted in hopes that some of that paint would cover the imperfections.
Sadly that was not the case. This is where skimming comes in. Now it’s been pointed out to us that there are two types of lighting – we’ll call them “every day” which is just your normal room lights and “up close and personal” flashlight or lamp light meant to look for imperfections. While both pictures were taken using “up close” lighting to really show off how bad it is, the imperfections on the walls are still quite visible in the overhead lighting of both areas.
So back to wall skimming. Frankly, neither of us are quite adept enough to go at it with just a hawk and trowel it so we used the roller method. A rolled on skim coat is like… the love child of painting and drywall mudding. It’s a little bit of both all rolled into one. Essentially you use a roller to paint on a thinned out coat of drywall joint compound and then pull out most of the texture with a rubber trowel. Bucket of thinned drywall mud – check, trowel – check, roller & paint tray – check, spray bottle to keep the wall damp – check, rag for wiping – check.
Skimming is my first real “solo” adventure since we’ve bought this house. (Painting doesn’t really count since I’ve done it countless times before.) My hubby has been doing the bulk of the work and while I’ve assisted with cutting or hanging drywall, I’ve not undertaken any project by myself up til now.
For my first time skimming EVER and my first solo project, I think I did alright. While the starting section was less than pretty, I found that it go progressively better as I went along and found my groove between rolling and pulling.
The walls will still need to be sanded down but after the first coat, our rec room is already looking much better. Total run time: 2 – 2.5 hours from prep to finish not including clean up. This week I’ll tackle the hallway and once we get the rest of our flooring put in we’ll be ready to paint! But more on that later 😉