Wall Skimming 2.0: More lessons to learn
So 20 YouTube videos and 2 skimmed walls later, the hubby and I are total pros at this now. If only.
At this point, I’d say we’re semi-capable DIY-ers who are having lots of fun with our hands-on learning.
Here’s a list of things we’ve learned so far:
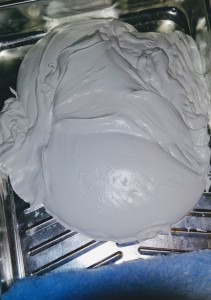
1. Consistency matters. There doesn’t seem to be a set formula for determining how much water to mix into the drywall mud i.e. 1/2 c. water to 1 g. of drywall joint compound. YouTube and DIY blogs have recommended the thickness be somewhere between mayonnaise and creamy peanut butter. Real talk here: I love that people are using condiments as a reference for mud thickness. I mean, how else are we supposed to gauge it right?

The first time I think we made it a little too thick and it coated well but it made for difficult rolling. Round 2, I thinned out the mud more and while it rolled on quite easily, it did not coat well. Now they say you’re your own worst critic, but after all was said and done, it was quite obvious that it was an uneven coat with certain spots of the wall being more visible through the skim than others.
2. The second coat should be skimmed at 90 degrees to the first one. So since coat one was pulled vertically, coat two had to be done horizontally. Something we didn’t know to do the first time around. I guess it’s to fill in the gaps better or to get it more even? I’m still learning here!
3. Keep a spray bottle of water handy. The other thing we didn’t know our first time through is that the magic trowel should be wet. We used the spray bottle to keep the squeegee/trowel wet and for keeping the wall damp during pan refills.
Some sites recommend that a quick set compound is used rather than a pre-mixed one since it has a faster drying time but both the hubby and I felt like that was just an extra hassle and the time frame for the quick set compound was too tight to work in.

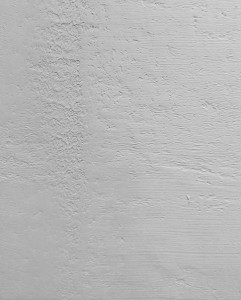
Quite honestly, I’m still not 100% certain we’re doing it correctly. There seems to be quite a bit of texture on the walls even after a light sanding. The question now is, do we sand it down further, do a third skim-coat, or just paint it and hope for the best. With it taking approximately 2-2.5 hours for each coat, I’m not a particular fan of the third coat option, which leaves us with more sanding or throwing the towel in in favor of painting.
So many decisions and so little time!