We Built This Cat Tower
Taking a break from our regularly – although not so regularly – scheduled remodeling crud to bring you something fun-ish.
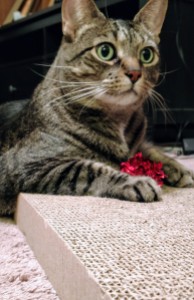
We built a cat tower!!!
It’s something we’ve been meaning to do for awhile, debating back and forth about the details of a cat tree – whether we buy or build and when. We do have scratcher boxes all over the house that we’re constantly tripping over (or maybe it’s just me being a total clutz.) Regardless, the cats seem to ignore them half the time, even when it is RIGHT THERE. Do they walk the extra foot to the scratch box? No. Instead, the little boogers opt to dig their claws into the carpeting. I am thankful they pretty much ignore the furniture but is it too much to ask to ignore the carpet as well? Apparently.
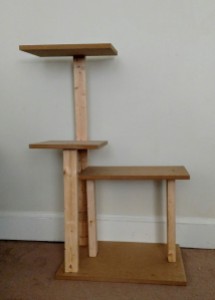
Now you might be wondering, why build a tower when you can purchase one? It’s way less labor intensive! First: they’re fracking expensive! $70+ and up! We bought one a few years back and it fell apart in under a year. Definitely wasn’t worth the price we paid for it. I love my cats and all but that’s just too much money. Particularly if we want more than one. Second: After finding a relatively simple plan from dadand.com turns out we had most of the materials we needed since the carpet guys were kind enough to leave us the excess off the roll.
Saturday was build day or at least day 1. A quick trip to Home Depot and then husband and stepson got right down to business.
In spite of initially proclaiming that the tower wasn’t epic enough (someone was watching too many cat mansion youtube videos), the kiddo got pretty excited once it was all put together. He couldn’t even wait for us to put carpeting on and started running around the house calling for the kitties.
Onto the fun part of carpeting and rope. The boys measured and cut and I got to attach everything.
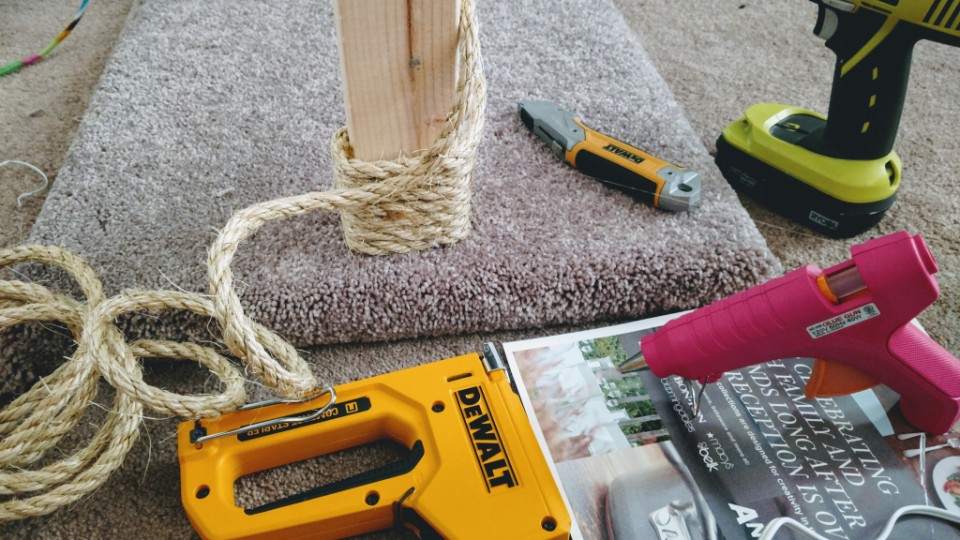
The carpet was stapled on and the rope attached with hot glue. I also added staples in the back of the rope roughly every 4-6 inches for added measure.
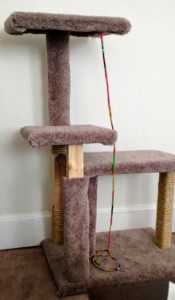
2 1/2 days later it’s finally complete. Or at least it’s as finished as it’s going to get. I would have liked to have added more rope so that all the wood was covered, but then I’d have to go buy more as well as spend the time attaching it which required just a bit more effort than I was willing to give at that point.
It’s a little crooked in places and a little messy but it’s sturdy and really that’s all that matters right? There’s sweat in my bra, rug burns, and scrapes on both my knees, hot glue burns on both arms, hand cramps from stapling and a blister on my left hand of unknown origins. It was painful, tedious, and not quite as much fun as I imagined, but it was all worth it. The cats are in love with their new tower and they’ve pretty much stopped clawing the carpet. And while the kiddo wasn’t here to help us finish, I’m sure he’ll be just as thrilled as the cats are with the final product.
Project cost: About $60. We had leftover carpet and 2 x 4’s from previous projects. $15 for the MDF board, $15 for the glue gun and glue, $9 for 50-ft of 3/4 in. sisal rope. It would have been cheaper but our staple gun all but gave up the ghost halfway through our project. Tack on an extra $25 for staple gun and staples. As a finishing touch, we attached the string of a broken cat toy for their added entertainment.
For now, I rest. At least until the next project.